
Super Suite
Get all extensions for one suite price
Design Extender
Design and create unlimited websites
Data Bridge
Develop database-driven websites
eCart
Build a responsive shopping cart + checkout
MySQLi Server Behaviors
Generate streamlined MySQLi
Free PayPal Toolkit
Paypal, PayPal Credit, and Skype
Help

In this tutorial, Create a product catalog I of the eCommerce series, you will learn if a dynamic product catalog is appropriate for your online store and how to complete the initial set-up. In Create a product catalog II, you will finish the product catalog by creating product administration pages, product catalog pages, and order pages.
A dynamic product catalog is helpful when you sell multiple products that change often or need categorizing. Just as important to know is that you can actually set up a store without having a dynamic product catalog. So before you start down the path of creating a database, you will first determine if this step is necessary or if you should skip directly to the Add a shopping cart tutorial in the WebAssist eCommerce series.
You'll find a linked index including an overview of each tutorial belonging to the eCommerce series at the bottom of this page.
Do you need a dynamic product catalog? Backing up a moment, let's pause to determine whether this two-part tutorial is appropriate for you or if skipping to the the Add a shopping cart tutorial in the WebAssist eCommerce series is warranted.
When wouldn't you need to build a dynamic product catalog? Perhaps you do not sell a variety of products in your store, neither do your products change often or need categorizing. For these situations, creating a database would probably be overkill. Using CSS, HTML, and JavaScript technologies should be sufficient. Another reason for bypassing this tutorial is that your website already has a dynamic product catalog. However you may still need assistance creating a shopping cart, simple and complex product options, check-out, and administrative back-end. The remaining tutorials in this series will walk you through those steps.
When would you need this tutorial? Learning how to create a dynamic product catalog is helpful when you offer multiple products that change often or need categorizing. If so, you will benefit from this tutorial which demonstrates how to use PHP and MySQL database technologies to build your dynamic product catalog. Otherwise, you can safely skip to the last section to review the additional tutorials in the WebAssist eCommerce series and choose your next step.
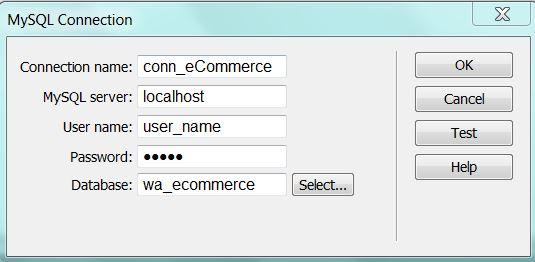
Data Bridge offers two options for connecting to a database, Dynamic MySQL Connection and MySQL Connection (Dreamweaver's default connection). You can set up a connection for your live website on your hosting company's server using Dynamic MySQL Connection and a connection for testing locally (localhost) using MySQL Connection. (To learn how, follow the link to Create a PHP database connection in the first section of this tutorial.)
The advantage to using Dynamic MySQL Connection is that it holds multiple connections in a single file, eliminating the need for multiple files. For example, a database on localhost would have a username and password. Additionally, a server on GoDaddy would have another set of credentials. With Dynamic MySQL Connection, there would be no need to keep a different connection file on each server. On the other hand, if the database connection was to be used solely for testing, MySQL Connection would be sufficient.
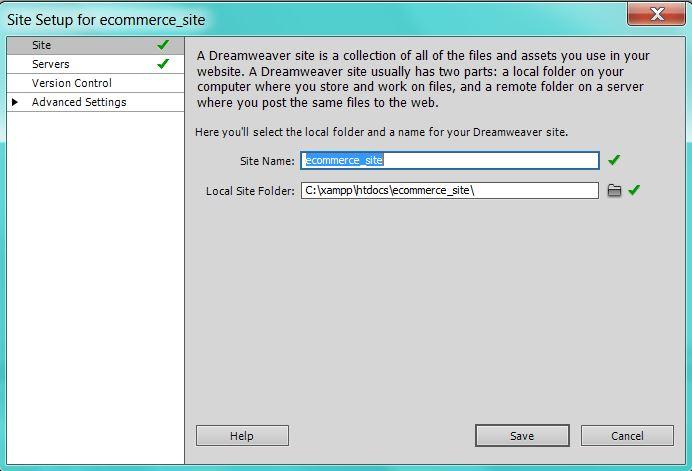
Now I'd like to draw your attention to a mistake commonly made when filling in the Server Folder and Web URL fields. Server Folder and Web URL must point to the same location. Otherwise, your product pages can't connect to your database. In other words, although you can name your site whatever you wish (I'm using ecommerce in this example), both of the fields must contain the identical site name. You should always verify a successful connection with the Test button before proceeding.
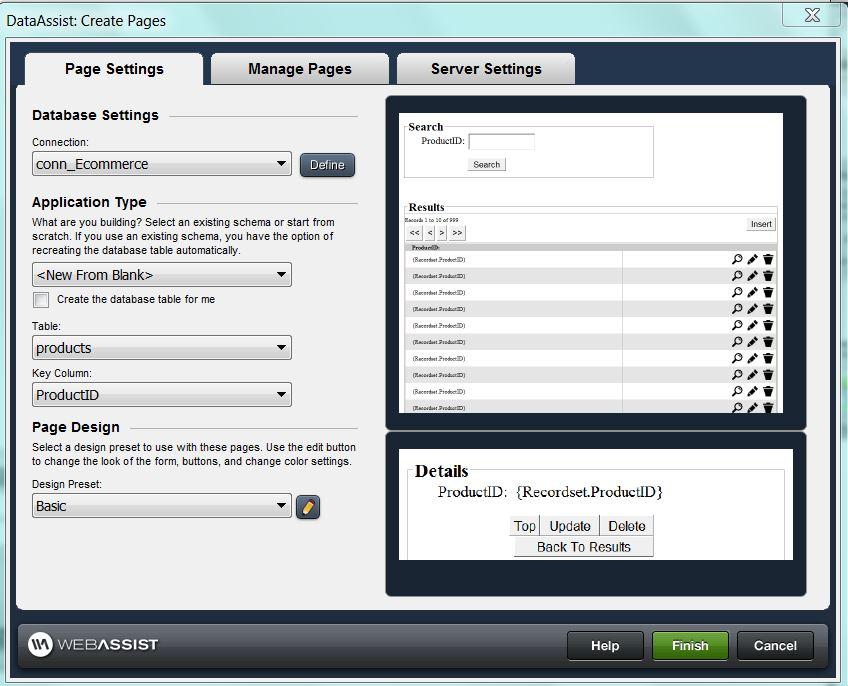
Using either a sample preset or a custom preset, you can easily create product catalog pages to manage records. For example, I will be using the generic product catalog preset for the Application Type.
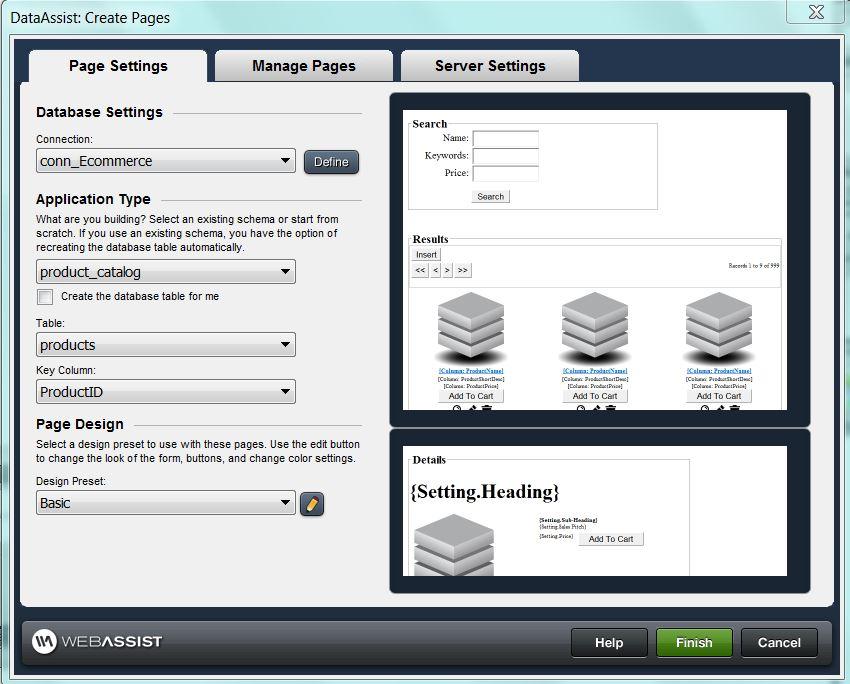
But if you are setting up an actual website with a specific product in mind, a generic preset may not be your best choice. In fact, before running the DataAssist wizard, you should first design your website with HTML and CSS. Next you would decide which fields to include in a database to support your design. This upfront planning will result in a database that best accommodates your specific product line.
Continuing that thought, many website owners who have already defined their product line and want to create a catalog often make the mistake of thinking the generic product catalog preset would be their best choice. Actually, this preset is best used as a sample. In contrast, they should proceed with the custom preset <New From Blank> for the Application Type.
Here's a good example, let's say you sell boats. This is a product line that requires unique database fields, such as length-to-beam ratio, wetted surface area, and displacement. In this case, using the generic product catalog preset would require too much customization after creating your pages. You'd be better served by using a custom preset.
Now that you have decided a dynamic product catalog is appropriate for your online store and are finished with the initial set-up, proceed to Create a product catalog II (eCommerce Series) where you will learn how to create product administration pages, product catalog pages, and order pages for your dynamic product catalog.
With eCart technology as the cornerstone of the WebAssist eCommerce series, these in-depth tutorials will walk you through the steps of building an eCommerce site: product catalogs, shopping carts, product options (both static and dynamic), and checkout including payments. Completing the eCart portion of the series is help for setting up a back-end administration to manage your eCommerce business. Additionally, to be used with or without eCart, you will learn about payment gateway providers, hosting solutions, and online shipping accounts.
Comments will be sent to the author of this tutorial and may not be answered immediately. For general help from WebAssist, please visit technical support.
Sign in to add commentsYour friends over here at WebAssist! These Dreamweaver extensions will assist you in building unlimited, custom websites.
These out-of-the-box solutions provide you proven, tested applications that can be up and running now. Build a store, a gallery, or a web-based email solution.
©1999-2026 WebAssist.com Corporation. All rights reserved and all that jazz.

Account or customer service questions?
Please user our contact form.
Need technical support?
Please visit support to ask a question